
How Do I... Identify Unknown People in Old Photos?
An unlabeled face in an old photo doesn't have to stay a mystery. This guide walks through the practical techniques genealogists and family researchers use to identify unknown people in photographs, from understanding the photo format to working the family network.

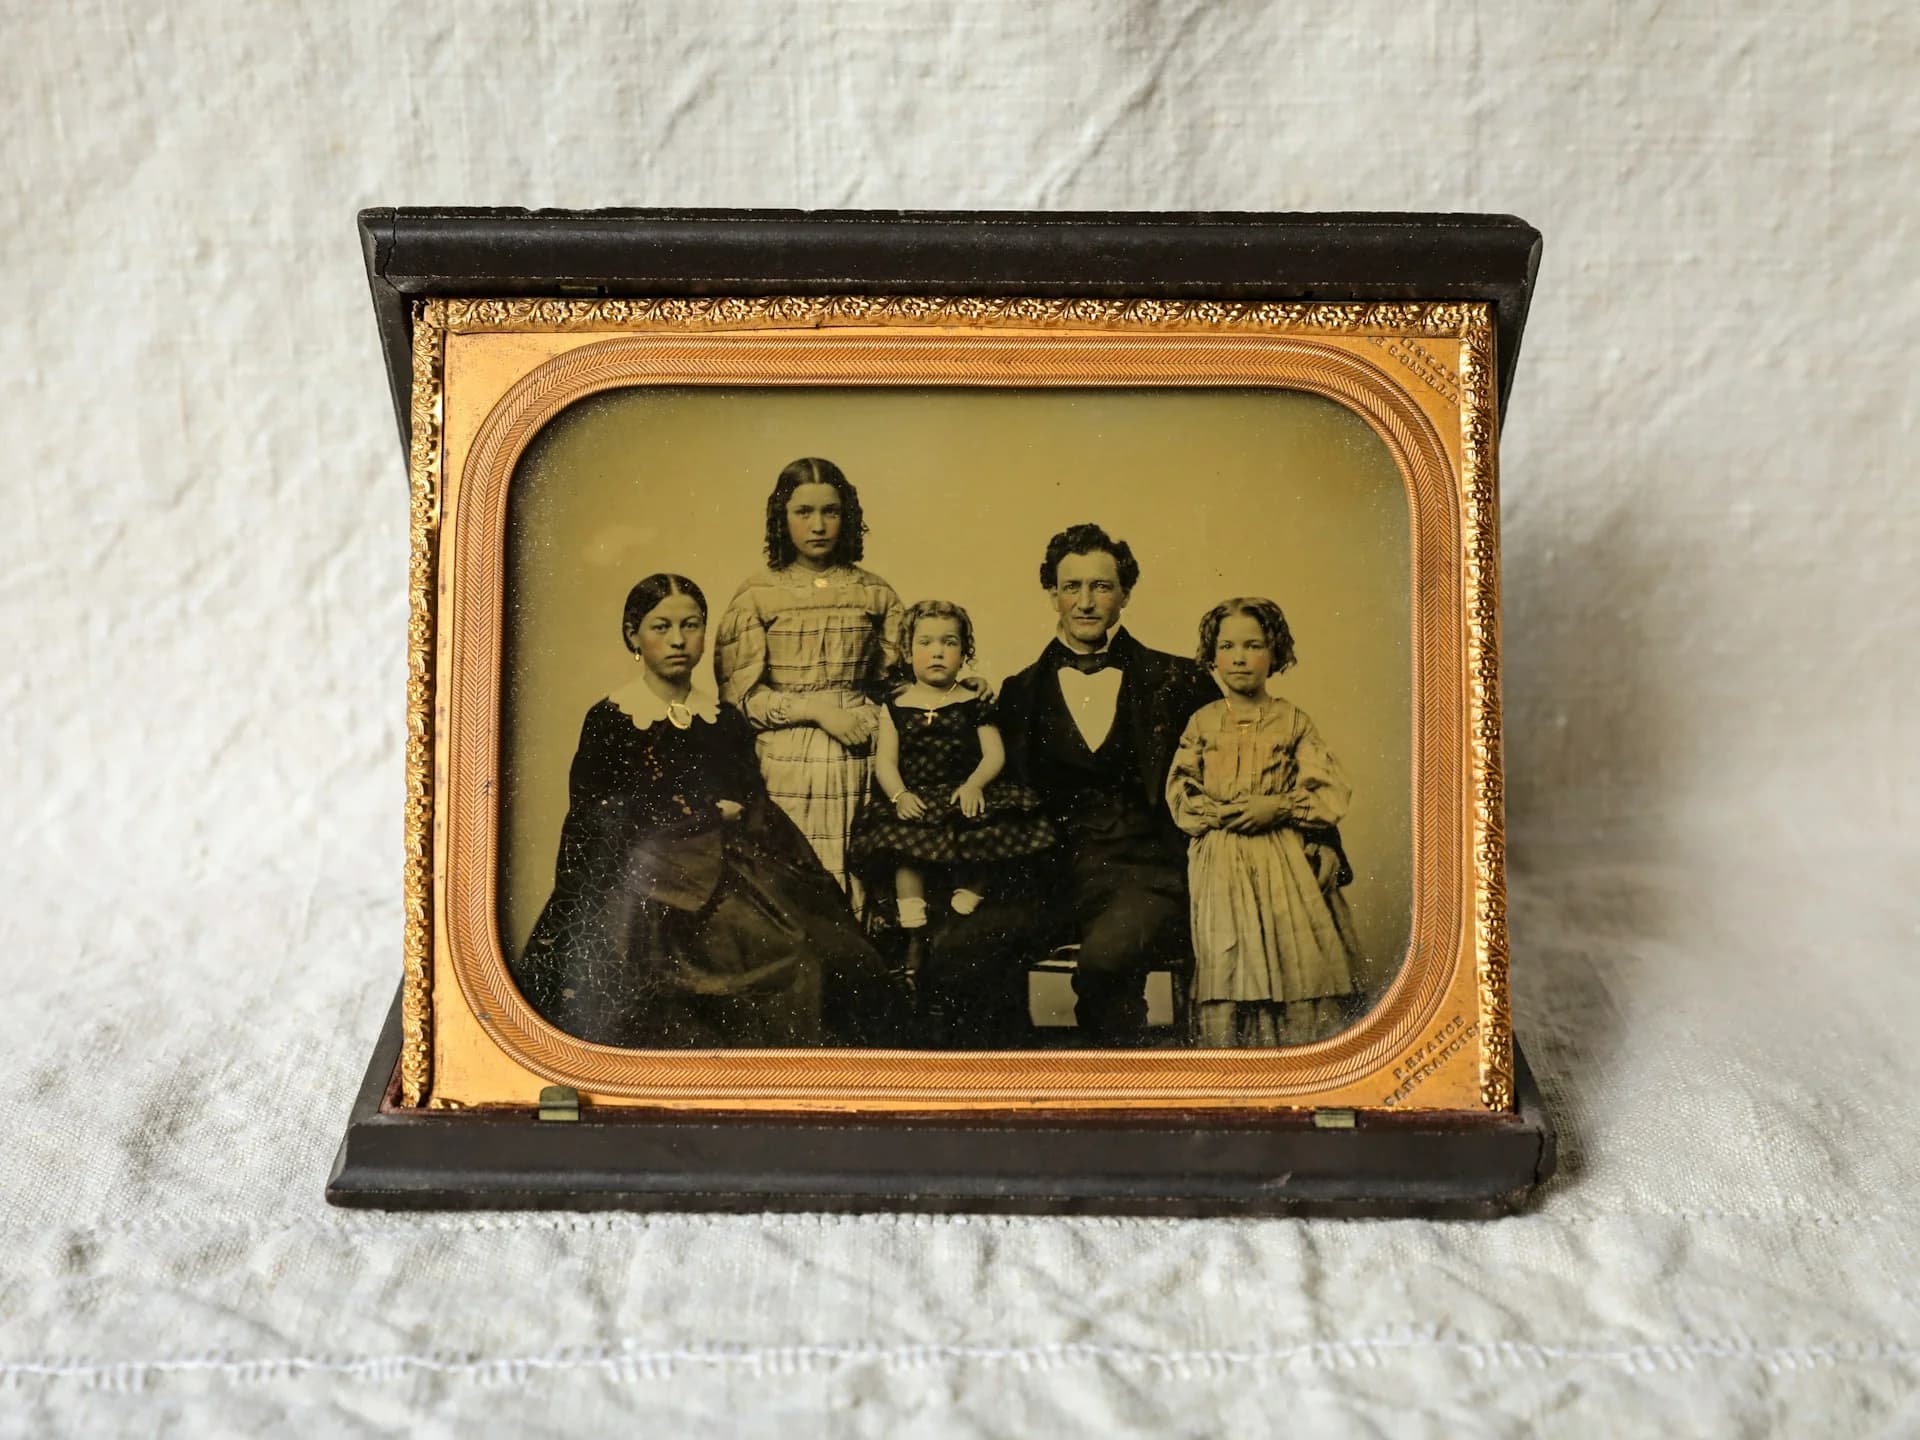
How Do I Identify Unknown People in Old Family Photos?
"Who is this?" you wonder to yourself as you look at a photo of your grandparents with an unknown couple from that box of old photos they left you. Somewhere in most family collections there is a box of photographs where the faces are familiar in a hard-to-place way but the names are gone. Maybe there's a handwritten note on the back that says only "Aunt R., 1943." Maybe there's nothing at all. The person who could have identified everyone in the frame passed away before anyone thought to ask.
This happens in nearly every family with a collection older than a generation or two. And unlike the feeling suggests, it's not always a dead end. Old photographs contain far more information than the faces in them, and genealogists have developed a reliable set of techniques for working through exactly this problem. You don't need specialized equipment or a research background to use most of them. You need patience, a decent light source and a methodical approach.
Step One: Read the Photograph Before You Read the People
When was it taken? This is the single most useful thing you can do with an unidentified old photo. That one piece of information immediately narrows the field of possible subjects from your entire family tree to a much smaller group of people who were alive and the right age at that time.
The physical format of the photograph is your first clue. Daguerreotypes, which have a mirror-like silver surface and can only be seen clearly from a slight angle, date from roughly 1839 to the 1860s. Tintypes, which are printed on thin iron plates and will weakly attract a magnet, were common from the 1860s through the 1920s. Cartes de visite (small albumen prints mounted on thin cardboard, roughly business-card sized) were enormously popular from the 1860s through the early 1900s, especially during the Civil War era when families exchanged them. Cabinet cards, the larger version mounted on thicker stock and frequently displayed on furniture, peaked between 1870 and 1895 and are rarely found after 1906.
For photos from the 20th century, look at the paper stock, the border style and any printing on the back. Color processing dates, processing lab logos and the style of printed borders all shifted in recognizable ways across the decades. A photo with a white border and a matte finish is very different from a glossy borderless print from the 1970s. These aren't exact sciences, but they will usually get you within a decade, which is often enough to start matching faces to names in your family tree.
Check the back for studio information
Many 19th and early 20th century portraits were taken at commercial photography studios, and those studios frequently printed their name, city and sometimes street address on the back of the mount. This is one of the most underused identification tools in family photo research. If you find a studio name, a quick search can often tell you exactly which years that studio was in business and in which town, narrowing your date range considerably. Cross-reference that location with where your family actually lived at that time, and you may find yourself with a very short list of possible subjects.
Step Two: Use Clothing and Hairstyle as a Dating Tool
What's in Vogue? Fashion history is one of the most practical tools in photo identification, and it requires no expertise to use at a basic level. Clothing silhouettes, collar styles, hairstyles and sleeve shapes all changed in fairly predictable ways across decades, and a rough sense of those changes can help confirm or challenge a date estimate you reached from the photo format.
For women's photographs from the late 1800s, sleeve width is particularly useful. The dramatic leg-of-mutton sleeves that ballooned at the shoulder were fashionable in a very specific window from about 1893 to 1896. For men, lapel width, collar style and jacket cut shifted across decades in well-documented ways. Hairstyles follow similar patterns: the center-parted, smoothed-back styles of the 1870s gave way to softer arrangements by the 1890s, and the waves and bobs of the 1920s are unmistakable. Children's clothing is often even more date-specific, since conventions around what young children wore changed dramatically across just a few Victorian and Edwardian decades. Keep in mind that kids clothing may have been passed down from older children, so it might not be entirely accurate of the date it was in fashion.
You do not need to become a fashion historian. A quick search for "women's fashion [decade] photos" will show you enough photos as reference material to help you confirm or narrow a date. The goal is not precision; it's ruling things out. If the clothing looks like it's from the 1890s and your great-grandmother was born in 1901, the subject is probably not her.
Step Three: Cross-Reference Ages Against Your Family Tree
Once you have a date estimate, even a rough one, you can begin matching it against what you know about your family. Look at who was alive during that window and would have been the approximate age of the subject in the photograph.
For a portrait showing a woman who appears to be in her late 30s, photographed in a setting that seems like the 1880s, you are looking for women in your tree born between roughly 1840 and 1850. Write those names down. Now check where those women lived. Does the studio location on the back of the photo match any of their known residences? Cross-referencing age and geography will often reduce your candidate list to two or three people.
For group photos, work the math for each subject individually and look for family clusters that fit. If a photograph shows a couple in their 40s with three children ranging from about 8 to 15, you are looking for a specific family configuration that may appear only once or twice in your entire tree, which can make identification surprisingly precise.
Step Four: Work the Photo Against Other Photos You Have
One of the most reliable identification techniques requires nothing more than time and a good collection. Compare the unknown face to photographs where you do know the identity. People's features carry forward across decades in recognizable ways: the shape of an ear, the set of the eyes the line of a jaw. A confirmed photograph of someone at age 70 can help you identify the same person at 30 if you spend time with both images side by side.
You might want to invest in a large magnification lens that has a built-in diffuse light to help examine the finer details in old photos.
Look for photos where at least one person is positively identified and examine the other faces in the same frame. Family members were photographed together repeatedly, and an unidentified face that appears multiple times alongside confirmed faces is almost certainly a family member rather than a stranger.
Step Five: Bring in the Family Network
There's a limit to what any one person can solve from their own collection. The most reliable technique for genuinely stubborn photos is also the oldest one: ask more people. Distant cousins, branches of the family that went a different geographic direction, and relatives you have not been in contact with for years may have seen the same face in their own collection, but labeled.
Before you share, make a clear high-resolution scan. Share the scan, not the original. When reaching out, be specific: not "does anyone recognize this?" but "I believe this photo was taken in the 1880s based on the cabinet card format, and I think this woman may be from the [surname] side. Does anyone recognize her?" The more context you provide, the more useful the responses will be.
Where to Share Unidentified Family Photos
Facebook genealogy groups organized by surname, county or region of origin. Search your family's known surnames and geographic areas.
DNA match contacts on Ancestry, 23andMe or MyHeritage. People who share your DNA may recognize a shared ancestor's face.
Local historical societies and genealogical libraries in the county or town where the photo was taken. Many maintain photo identification services.
DeadFred.com, a free database of unidentified genealogical photos where others may recognize your subject.
Family reunions and gatherings. A printed copy passed around a table can produce an identification in minutes that months of solo research could not.
Step Six: Record Everything You Figure Out, Including the Dead Ends
This step gets skipped more than any other. Every conclusion you reach about an unidentified photo, even a tentative one, needs to be written down with the reasoning behind it. "I believe this is Mary A., born 1848, based on the cabinet card dating to the 1880s, the studio location matching her known residence in the 1880 census, and the resemblance to her confirmed portrait from 1892" is infinitely more useful than a sticky note that says "possibly Mary?"
Document the dead ends too. If you ruled someone out, say why. If three family members did not recognize the subject, note that. Future researchers will not have to repeat the same work if you recorded what you already tried.
When you confirm an identity, attach that information to the image immediately. On a physical print, write in pencil on the back. For digital images, update the filename, the metadata and any caption field to include the full name, approximate date and the source of your identification.
Pass the Work Forward, Not Just the Photo
Putting a name to a face is genuinely satisfying, but an identification without its reasoning attached is only half the job. The next person to inherit this collection will have no way to know whether that penciled name on the back came from a living relative who knew the subject personally or from a guess made forty years ago with no supporting evidence. Those are very different things, and the distinction matters.
When you reach a conclusion about an unidentified photo, document it the same way you would want to receive it: the name, the approximate date, the photo format you used to narrow the window, the studio location if there was one, the family tree logic that pointed to this person and the name of anyone who confirmed it. Keep a separate research log for photos that are still unresolved, with every approach you have already tried noted clearly. Future family members should be picking up where you left off, not starting over!
Start with one photo today. Use the format and clothing clues above to estimate when it was taken, write down what you conclude and why, and attach that note to the image before you move on. That record, passed along with the photograph, turns a mystery into a breadcrumb trail instead of a dead end.
Add Those Photos to a Secure Digital Vault
If you've started a family photo preservation project and want to easily share your images and research with other family members, consider joining thousands of other amateur sleuths who are using My Family Story Vault to preserve their family stories across the generations. One subscription unlocks unlimited free family invites so relatives far and wide can come together to document the stories that matter most for your family.
✨ Join thousands preserving family stories • 🔒 Secure & Private
🆓 Start Today