How Do I... Digitize 10,000+ Photos?!
Inheriting thousands of family photos feels impossible. This guide breaks down how to digitize old photos and organize a large inherited photo collection into manageable weekly steps. From flatbed scanners to phone apps to professional services, find the right approach for your timeline and budget.

The Overwhelmed Person's Guide to Digitizing 10,000+ Photos
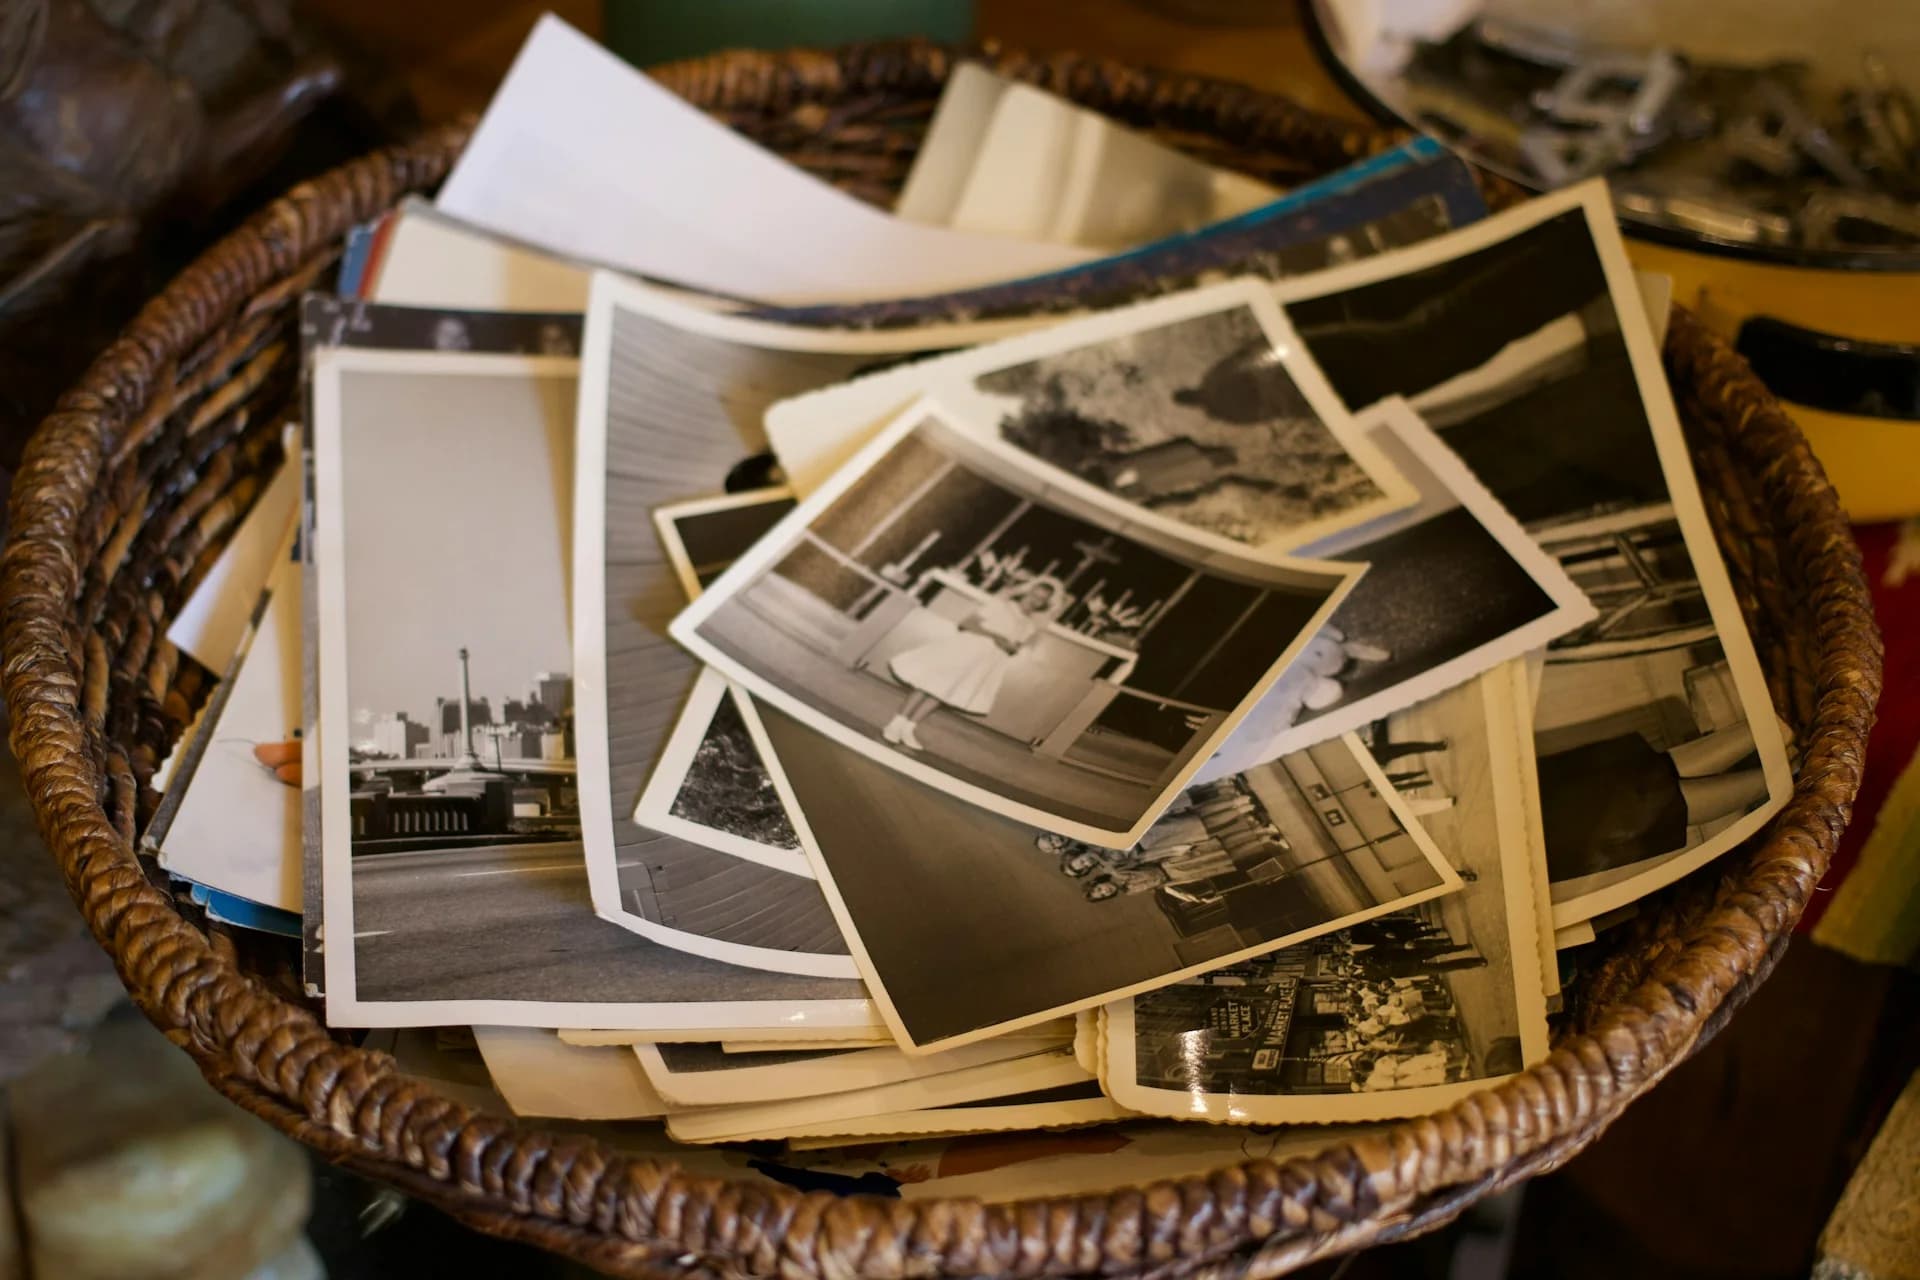
You opened the box and immediately wished you hadn't. Or maybe it was a closet, an attic, a storage unit. Wherever they were hiding, you're now looking at decades worth of family photographs: shoeboxes stuffed with prints, yellowing envelopes from the photo lab, albums with sticky pages and peeling covers. Your parents kept everything. And now, somehow, it's all yours.
If you've been putting off figuring out how to digitize old photos, you're not alone. For most Gen X adults who've inherited a parent's photo collection, the problem isn't motivation. It's scale. Ten thousand photos feels like a life sentence. But here's the thing: it doesn't have to be. The goal isn't to finish everything this weekend. The goal is to build a system that actually works, then let time do the rest.
This guide will walk you through exactly that, with realistic timelines and no guilt about the boxes you're not touching today.
Stop Trying to Eat the Whole Elephant
The first mistake most people make is treating this like a single project with a single deadline. It's not. Digitizing a large photo collection is more like remodeling a house. You do one room at a time, live in the chaos for a while, and eventually look up and realize you're mostly done.
Before you touch a single photo, give yourself permission to work slowly. Realistic expectations matter here. If you scan 50 photos a week, consistently, you'll get through 2,600 photos in a year. That's not failure. That's progress.
The one-hour rule: Commit to one hour per week on this project. Just one. Put it on your calendar like a meeting you can't skip. People who try to power through large photo projects in marathon sessions almost always burn out. People who work in small, consistent chunks finish.
Phase 1: Sort Before You Scan (Week 1 to 2)
Don't scan a single photo yet. Seriously. The biggest time-waster in any large digitization project is scanning things you'll later wish you'd thrown away. Spend your first two sessions just sorting.
Pull everything out. Lay it across a table or the floor. Now make three piles:
Priority photos. Anything with people in it, especially photos that are the only copy of a specific person, place, or era. These get scanned first.
Nice to have. Landscapes, holiday decorations, generic party shots where nobody is clearly identifiable. These get scanned eventually, if you get to them.
Discard. Blurry shots, duplicates, random photos of cars or buildings with no context. Yes, you can throw these away. Your future self will be grateful.
Be ruthless about the discard pile. If you have twelve nearly identical shots of the same birthday cake, keep the best two. Nobody needs twelve photos of a birthday cake.
Quick Sorting Tips
Group photos by decade, not by event. Rough chronological order is enough at this stage.
Write lightly on the back of prints in pencil if you know dates or names. Do this now, while the people who know are still around to ask.
Don't open albums yet. Leave them intact for now. You can disassemble them later when you're ready to scan those pages.
Take a photo of any handwritten notes or captions on the backs of prints before scanning. That context is as valuable as the image itself.
Phase 2: Choose Your Scanning Method (Week 2 to 3)
You have three realistic options for how to digitize old photos from a large collection, and the right choice depends on how much time you have versus how much you're willing to spend.
Option A: Do It Yourself with a Flatbed Scanner
A dedicated photo scanner like the Epson Perfection V39 or Epson FastFoto FF-680W runs between $100 and $500 and gives you the most control over quality. The FastFoto in particular is designed for high-volume photo scanning. It can scan a 4x6 print in about two seconds, which adds up quickly when you're working through hundreds of photos at a sitting.
For most 4x6 prints, scan at 600 DPI. That gives you a file large enough to print and share without creating files so enormous they become a storage problem. For very old or very small photos, go up to 1200 DPI.
DIY scanning gives you the best quality and keeps costs low over time, but it requires the most effort per photo.
Option B: Use a Digitization Service
If your priority pile is large and you want it done fast, services like Legacybox (legacybox.com) or Southtree (southtree.com) will scan your photos for you. You box them up, ship them off, and get back digital files on a USB drive or via download.
The tradeoff is cost. Depending on the service and package size, expect to pay $0.25 to $0.65 per photo. For 2,000 photos, that's $500 to $1,300. That's a reasonable price to pay for getting the hardest part done quickly, but it's worth doing the math before you commit.
Option C: Scan with Your Phone
For parents not comfortable with technology or anyone working without dedicated scanning equipment, phone scanning is a legitimate option for casual-quality results. Photomyne is the best current option for both iPhone (App Store) and Android (Google Play). Point your phone at a group of photos laid flat on a table and Photomyne automatically detects each photo's edges, crops them individually, and saves each one as a separate file. You can scan several photos at once, which makes working through a shoebox significantly faster than one-at-a-time capture.
Phone scanning isn't archival quality, but it's vastly better than leaving photos in a box. For the "nice to have" pile, phone scanning is often the right call. Photomyne also offers color restoration and face sharpening tools, which can meaningfully improve older or faded prints.
Phase 3: Build Your File System Before You Need It (Week 3)
Set up your folder structure before you start scanning. Trying to organize files retroactively is a nightmare. Get this in place first and it takes five minutes. Getting it in place after scanning 3,000 files takes five hours.
A simple folder structure by decade works for most inherited collections:
Family Photos/
├── 1950s/
├── 1960s/
├── 1970s/
├── 1980s/
├── 1990s/
└── Unknown Date/
Within each decade folder, add subfolders for specific events as you encounter them: "1970s / Dad's Military Service" or "1980s / Family Vacations." Don't try to plan every subfolder in advance. Let the photos tell you what categories you need.
Name files consistently. A simple format like 1974_Summer_Beach_001.jpg works well. Year first means files sort chronologically automatically. Keep names short. You're not writing a caption, you're naming a file.
Phase 4: Scan in Batches, Not Marathons (Ongoing)
Here's your weekly rhythm once you're set up and scanning: pull out one manageable batch, maybe 50 to 100 photos from a single decade or event. Scan them. File them. Done for the week. This process takes 45 to 60 minutes depending on your setup and whether you're adding notes along the way.
Resist the temptation to jump around. Finish a decade before you start another one. Jumping between time periods feels more interesting but creates organizational chaos that slows everything down.
Realistic timeline: At 50 to 75 scans per session, one session per week, plan on six to twelve months to work through a collection of 2,500 to 5,000 priority photos. For 10,000 or more, think 18 to 24 months. That sounds like a long time, but remember: those photos have been in boxes for 30 years already. Another 18 months of organized progress is not a failure.
Phase 5: Add Context While You Still Can
Digitizing photos is only half the job. A digital file of an unknown woman at an unknown party in an unknown year is still a mystery. The goal isn't just to scan family photos. It's to preserve the stories behind them.
While you're sorting and scanning, call the people who might know who's in these photos. Your aunts. Your parents' oldest friends. Your siblings who might remember things differently than you do. Ask them to look at photos on your phone or over a video call. Write down everything they tell you.
The story behind the photo matters as much as the photo itself. "Grandpa at the beach, 1962" is a file name. "Grandpa's first vacation after being discharged, OR the summer he met Grandma's family for the first time" is a memory worth keeping.
"The Story Behind The Photo" is what the My Family Story Vault platform excels at. You can add captions, dates and story context directly to each uploaded image. Organize photos into customizable life milestones such as childhood, vacations, holidays, marriage or retirement, so future family members don't have to piece together the chronology themselves.
The platform's collaborative features mean you can invite relatives to help identify people and add their own memories to photos. Your cousin in another state might recognize someone in a 1975 photo that you've been staring at for weeks. Sharing the work distributes both the effort and the knowledge.
Phase 6: Back Up Early and Often
Don't scan 500 photos and then lose them because your hard drive fails. Back up from day one. The standard approach is the 3-2-1 rule: three copies of your files, on two different types of storage, with one stored offsite.
In practical terms, that usually means your primary computer, an external hard drive, and a cloud backup. My Family Story Vault serves as a cloud backup by default for anything you upload, which means you can scan, upload and have your files protected in the same step.
The Moment This Stops Being a Chore
Something shifts about three or four months into a project like this. You stop thinking of it as a task on your to-do list and start looking forward to your weekly scan session. You'll find photos you've never seen before. You'll learn things about your parents' lives before you existed. You'll hold a photograph from 1953 and realize you have your grandfather's exact chin.
That's when you understand what you're actually doing. You're not organizing a large photo collection. You're building something that will outlast all of you: a record of where your family came from, what they looked like, and who they were when no one was watching.
Start this week. One hour. One box. That's all it takes to begin.
It's Easier to Get Started Than You Think!
Join thousands of families like you who recognize the need to create a lasting family legacy. You and your family can collaborate together to upload and identify old family photos while adding the context behind the image that turns a photo into a family story that can be shared for generations to come!
✨ Join thousands preserving family stories • 🔒 Secure & Private
🆓 Start Today