
How Do I... Start Recording Family Stories?
Here are the essential steps to begin capturing your family's precious memories and stories for future generations.
Getting Started with Family Story Recording
Recording family stories is one of the most meaningful gifts you can give to future generations. These conversations capture not just facts and dates, but the texture of a life lived. The way your grandfather laughs when he tells a particular story. The pause your aunt takes before talking about a difficult memory. The pride in your father's voice when he describes his first car. Here's how to begin preserving these moments before they're lost.
1. Choose the Right Environment
Find a quiet, comfortable space where your family member feels relaxed and open to sharing. Good lighting and minimal distractions are key. This isn't an interrogation or a formal interview. It's a conversation between people who care about each other.
Pick a room they know well, ideally somewhere they already feel at ease. Their living room. The kitchen table where they've had coffee for forty years. A favorite chair. Familiar surroundings help people relax and remember more easily.
Turn off the TV. Silence phones (except the one you're using to record). Close the door if you need to. Background noise from traffic, appliances, or other conversations will ruin your recording quality and distract from the stories being shared.
Timing matters too. Choose a time of day when your family member has the most energy. For some people, that's mid-morning after coffee. For others, it's late afternoon. Avoid recording right after meals when people tend to feel sluggish, or late at night when fatigue sets in.
2. Prepare Your Questions
Walking in without a plan rarely works. You'll sit down, say "tell me about your life," and get a blank stare in return. People need prompts. Specific questions unlock specific memories.
Start with open-ended questions that invite storytelling rather than yes/no answers:
Tell me about your childhood neighborhood. What did it look like? Who lived nearby? Where did you play?
What was your first job like? How did you get it? What do you remember most about those early days?
How did you meet [spouse/partner]? What were your first impressions? When did you know they were the one?
What's the most important lesson life has taught you? When did you learn it? How did it change you?
What was the hardest decision you ever made? Looking back, do you think you made the right choice?
What are you most proud of? Not what you think you should be proud of, but what actually makes you feel proud when you think about it?
Write these questions down ahead of time. Bring the list with you. You don't have to follow it rigidly, but having a roadmap keeps the conversation moving when it stalls.
Also prepare follow-up questions. When someone mentions a person, ask "What was she like?" When they describe an event, ask "How did that make you feel?" The best stories come from digging deeper, not moving to the next topic too quickly.
3. Use Simple Recording Tools
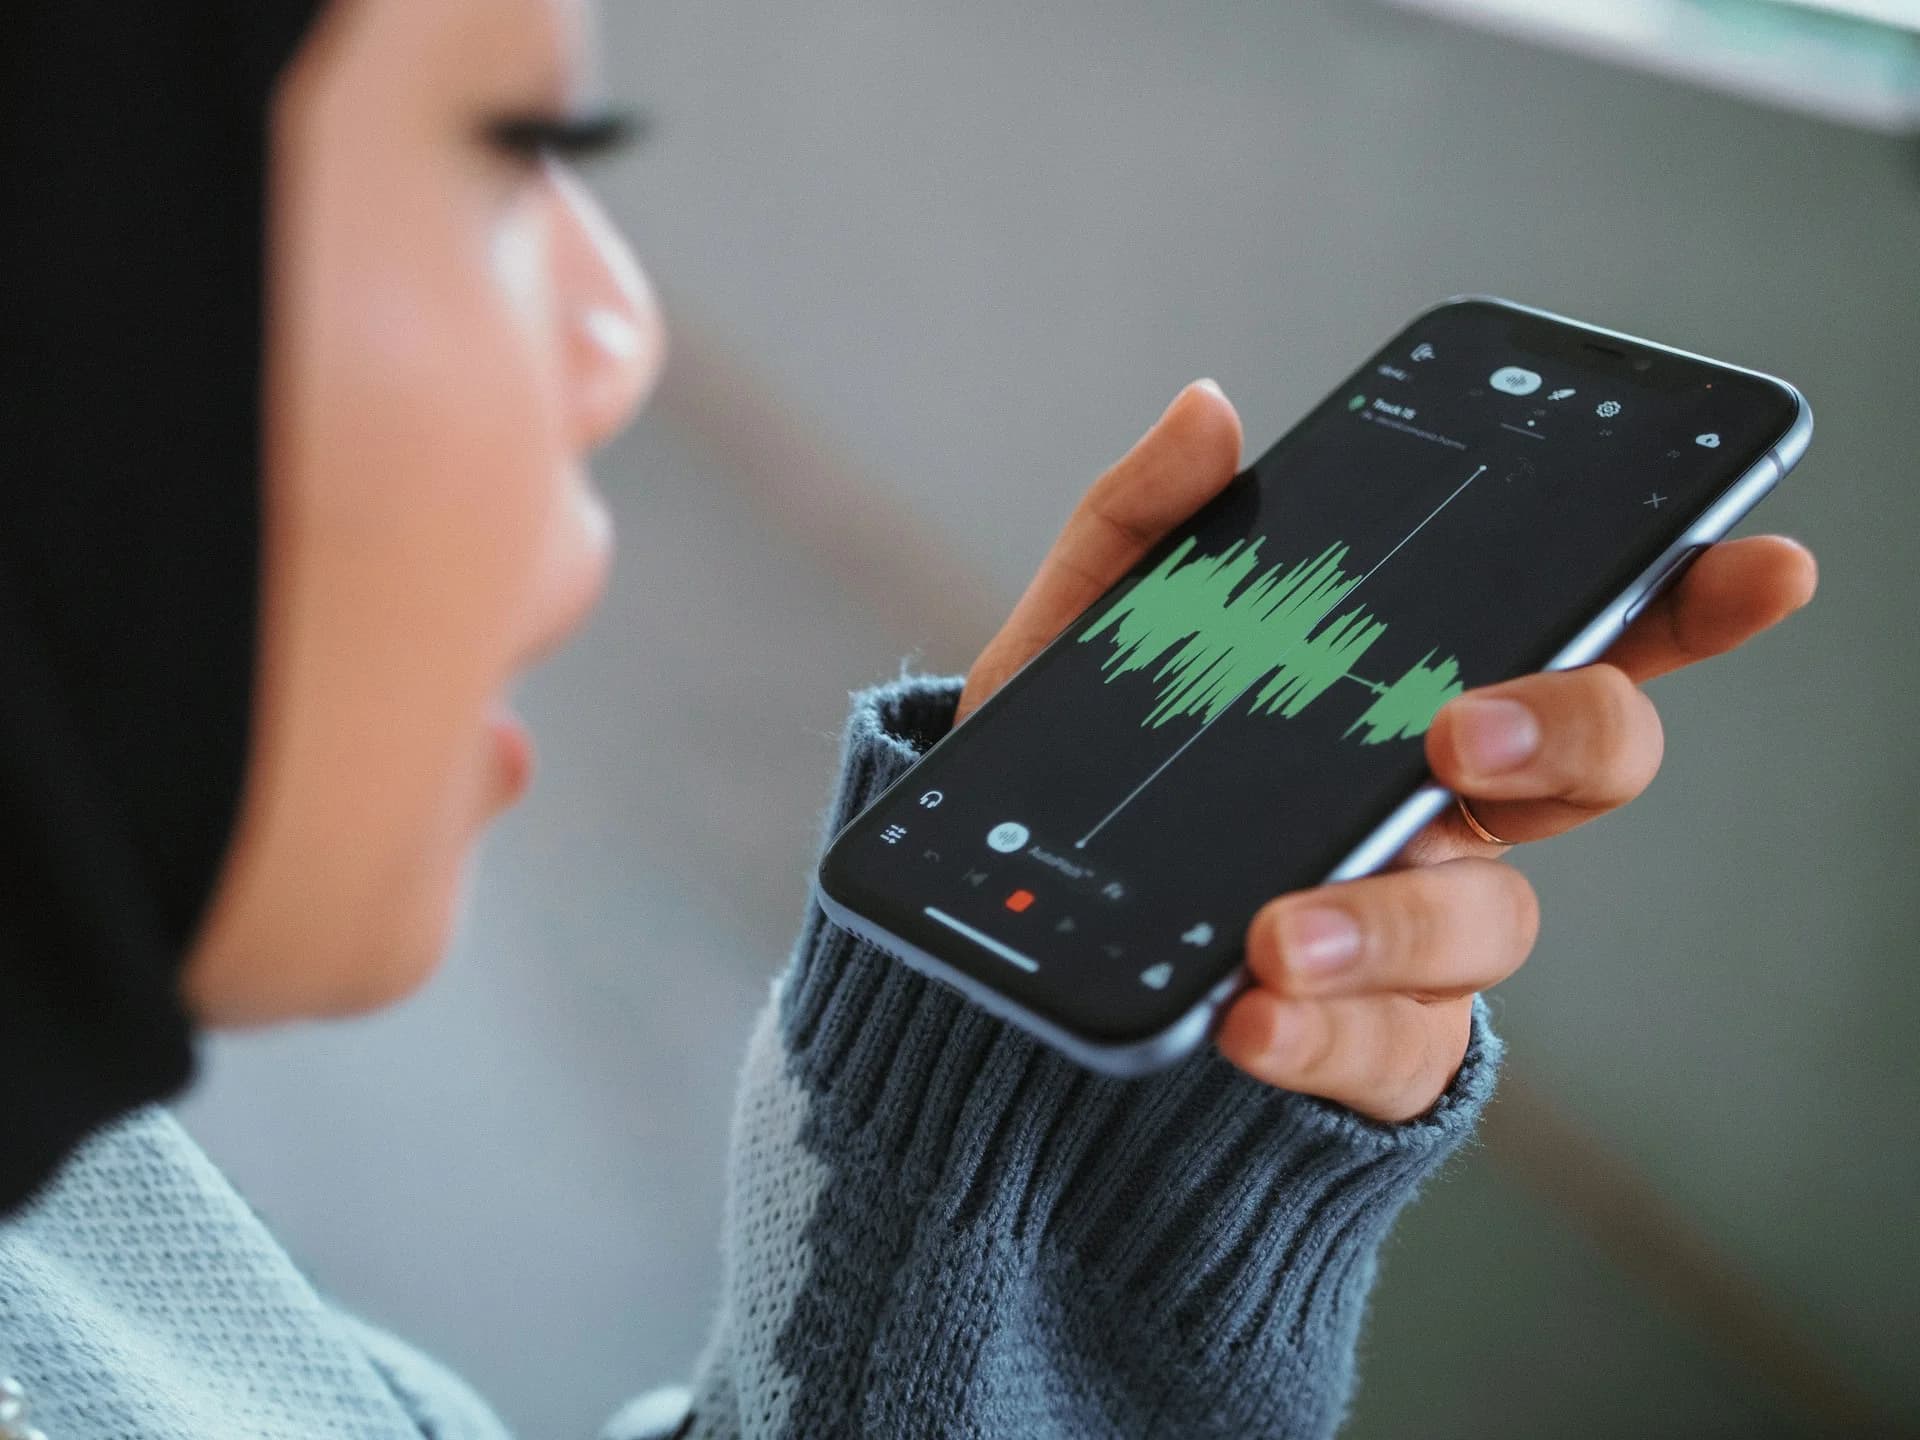
Your smartphone or tablet is perfect for recording. You don't need expensive equipment or professional microphones. Modern phones capture surprisingly high-quality audio, and they're devices people are already comfortable seeing in daily life.
For iPhone users, the built-in Voice Memos app works perfectly. It's simple, reliable, and already on your device. Just open the app, press the red record button, and set the phone between you and the person you're interviewing. The app automatically saves recordings to your iCloud account if you have it enabled. You can download Voice Memos from the Apple App Store if it's not already installed.
Android users can use the built-in Voice Recorder app (sometimes called "Recorder" or "Sound Recorder" depending on your phone manufacturer). Samsung phones come with Samsung Voice Recorder, Google Pixels have the Recorder app with transcription features, and other Android devices have similar built-in options. If your phone doesn't have one, download Easy Voice Recorder from the Google Play Store. It's free, straightforward, and handles long recordings without issues.
Position your recording device closer to the person speaking than to yourself. Their voice is what matters most. If you're using a phone, set it on a table between you, slightly angled toward them. Don't hold it in your hand during the recording or you'll pick up handling noise.
Test your setup first. Record 30 seconds of conversation, then play it back to check the audio quality. Can you hear clearly? Is the volume good? Are there distracting background noises? Fix any problems before you start the real recording. Nothing's worse than finishing an hour-long interview only to discover the audio is unusable.
Keep your phone plugged into power if possible, especially for longer sessions. Recording drains battery faster than you'd expect, and you don't want your device dying halfway through a story about the war years.
4. Start with Short Sessions
Begin with 15-20 minute sessions to avoid fatigue. You can always schedule more sessions later. Older family members especially may tire more quickly, both physically and mentally. Recalling detailed memories requires concentration and emotional energy.
Watch for signs they're getting tired: longer pauses, less detailed answers, shifting in their seat, checking the time. When you notice these, wrap up gracefully. "This has been wonderful. Can we schedule another session next week to continue?" That approach keeps them engaged and gives them something to look forward to.
Multiple shorter sessions often produce better stories than one marathon recording. People remember things between sessions. They'll think of details they forgot to mention. They'll find old photos that trigger new memories. The next time you meet, they might start with "I was thinking about what we talked about, and I remembered something else."
Schedule your next session before you leave the current one. Put it on the calendar. Make it concrete. "Same time next Tuesday?" If you leave it vague, weeks will pass and momentum will fade.
5. Focus on Stories, Not Facts
While dates and names are important, the emotions and details of experiences make stories truly memorable. Anyone can look up when World War II ended. But only your grandfather can tell you what it felt like to come home from that war and try to build a normal life.
When someone gives you a fact, dig for the story behind it. If they say "I worked at the steel mill for thirty years," don't just move on. Ask what a typical day was like. What did the place smell like? Who did they eat lunch with? What was the worst day they remember? What was the best?
Encourage sensory details. What did things look like, sound like, smell like, taste like, feel like? These details transport listeners into the moment in a way that bare facts never can.
Don't be afraid of silence. When you ask a question and the person pauses to think, let them think. Don't rush to fill the silence with another question. Some of the best, most honest answers come after someone has taken time to really consider what they want to say.
Tips for Better Story Recording
Bring old photos or objects to use as conversation starters. A photo from their wedding day or an object from their childhood can unlock memories that direct questions might miss.
Let them ramble a little. Not every story needs to be tightly focused. Sometimes the tangents are where the most interesting details live.
Record your own questions and comments too. Years from now, future family members will want to hear the conversation, not just one side of it. Your voice matters in this exchange.
Don't correct them if they get a detail wrong. If your aunt says something happened in 1965 but you're pretty sure it was 1967, let it go. Interrupting to correct breaks the flow and makes people self-conscious.
Save the difficult topics for later sessions. Build trust and comfort first with easier, happier memories before asking about losses, regrets, or painful experiences.
What to Do with Your Recordings
Once you have recordings, back them up immediately. Don't leave them sitting on your phone where they could be lost if your device breaks or gets replaced. Upload them to cloud storage, transfer them to your computer, or add them directly to a platform like My Family Story Vault where they can be preserved and shared with other family members.
Edit Your Audio into Discrete Stories
Here's something most people don't think about: that hour-long recording you just made isn't one story. It's five or ten or fifteen different stories strung together. Your grandfather talking about his first job is one story. His memory of meeting your grandmother is another. The time he nearly died in a car accident is a third.
Breaking long recordings into individual story clips makes them infinitely more useful. Instead of forcing someone to scrub through 90 minutes of audio looking for the story about the house fire, you give them a 4-minute clip titled "The Night Our House Burned Down, 1967." Specific stories are easier to find, easier to share, and more likely to actually get listened to.
Your Audio Recording app that you used to record your stories should have basic trimming capabilities, but when you have multiple stories on a single recording, you'll want to split those stories into separate audio files for easier usability. You'll need an audio editing app to split your recordings. The good news is you don't need professional software or a computer. Your phone can handle this with an audio editing app!
Audio Editing Apps for iPhone and iPad
Ferrite Recording Studio is the gold standard for editing spoken word audio on iOS. It's designed specifically for podcasters and journalists, which makes it perfect for editing family interviews. The free version lets you edit projects up to a certain length, and the interface is clean enough that you won't get lost in complicated menus.
With Ferrite, you can trim silence from recordings, split one long file into multiple shorter clips, adjust volume levels, and export each story as its own file. The app uses familiar gestures like pinch to zoom and swipe to scrub through audio, so if you're comfortable using your phone, you can figure out Ferrite.
TwistedWave is another solid iOS option. It's more straightforward than Ferrite, but still powerful enough to handle basic editing tasks like cutting, trimming and splitting files. If Ferrite feels like too much, try TwistedWave.
Audio Editing Apps for Android
Audio Cutter: Trim, Cut, Split is the simplest audio splitter you'll find on Android right now, and that's exactly what makes it worth trying first. The interface is clean, the waveform visualizer is genuinely useful for finding your split points, and the Multi-Split feature lets you drop multiple cut markers at once instead of splitting one piece at a time. If all you need is to chop up a recording quickly, this does it without making you dig through menus. It handles MP3, M4A, AAC, and other common formats, and all processing stays on your device, nothing gets uploaded anywhere.
The one thing to know going in: it's focused on splitting and trimming, not full production editing. It excels at quickly splitting a long audio file that contains many stories into multiple audio files. Just keep in mind - you won't find noise reduction or copy-paste tools here.
If you need more than basic cuts, splits or audio trimming, Lexis Audio Editor handles quick edits well and has a gentler learning curve than heavier options. Still not a full feature set, but it bridges the gap between a simple cutter and a proper editor. You can also search the Google Play Store for other highly rated audio editing apps, as new apps are released all the time.
How to Split Your Recording into Stories
Open your audio file in your chosen editing app. Listen through and note the timestamps where one story ends and another begins. Most apps let you indicate the split point, add markers or bookmarks at specific points in the audio.
Once you've identified where to split, use the app's split or cut function to separate each story into its own clip. Some apps will auto-save all your split clips. If you're given a choice during export, save each clip with a descriptive name: "Grandpa_FirstJob_1952.mp3" or "Grandma_WeddingDay_1963.mp3". The date helps, but the description is what makes the file findable later. Your audio editing app will likely ask you for a specific folder to save to. Make a note of what you choose (or add a new folder) so you can find and upload those audio files later.
Don't worry about making perfect cuts. If you include an extra second or two at the beginning or end of a story, that's fine. The goal is separating distinct narratives, not creating flawless productions.
Upload to My Family Story Vault for Automatic Transcription
Once you've edited your audio into discrete story files, upload them to My Family Story Vault. Our platform automatically transcribes your audio files, which means you get both the recording and a text version without doing any extra work.
Automatic transcription makes stories accessible to family members who prefer reading or who have hearing difficulties. And years from now, when someone wants to quote something their great-grandfather said, they'll have his exact words in text form, not just a memory of what he might have said. And since some audio is less clear than other audio, you can always edit the transcript if needed.
Share the recordings with family members who weren't there. Let cousins hear stories about their grandparents. Let siblings discover details they never knew about their own parents. These stories belong to the whole family, not just the person who happened to press record.
Remember This
Every family has unique stories worth preserving. Start small, be patient, and enjoy the process of discovery. You're not trying to create a perfect documentary or write a comprehensive biography. You're having conversations with people you love and making sure their voices, their stories, and their lives aren't forgotten.
The technical aspects don't need to be perfect. A recording with some background noise is infinitely better than no recording at all. A rambling story that wanders off topic is more valuable than silence. What matters is that you're capturing something real and human while you still can.
Start today. Not next week, not after the holidays, not when you have more time. Pick up your phone, call a family member, and ask when you can come over to record some stories. The conversations you have now are the memories your grandchildren will treasure fifty years from now.
Need some story question inspiration?
Sometimes you just need a bit of guidance to get started. That's why we created our free Story Question generator. Indicate which family member you're interviewing, what chapter of their life you're interested in, add an optional focus area, then get a customized list of thoughtful questions you can start with! Print and/or email the list, then change your selections and regenerate a new list of story questions. It doesn't get much easier to get started than this!
✨ Join thousands preserving family stories • 🔒 Secure & Private
🆓 Start Today